The configuration of the ROCKFALL 3 and GRAVITY (optional) series keyboards is done through the VIA interface.
To configure the keyboard, the keyboard definition is required – the physical layout of the keys, any layout parameters, and other customizable elements such as rotary encoders, lighting, etc. This information is contained in the "keyboard definition" – a .JSON file that needs to be downloaded from here:
⬇️download for GRAVITY TKL keyboard
⬇️download for GRAVITY X TKL keyboard
Download the file according to your keyboard model. If the browser does not download the file after simply clicking on the link, right-click on the link and select "Save link as".
Connect the keyboard to your computer with a USB cable, settings are made in wired mode. For keyboards with multiple operating modes, the mode switch must be in the "wired mode" position, and the wireless transmitter must be disconnected from the computer.
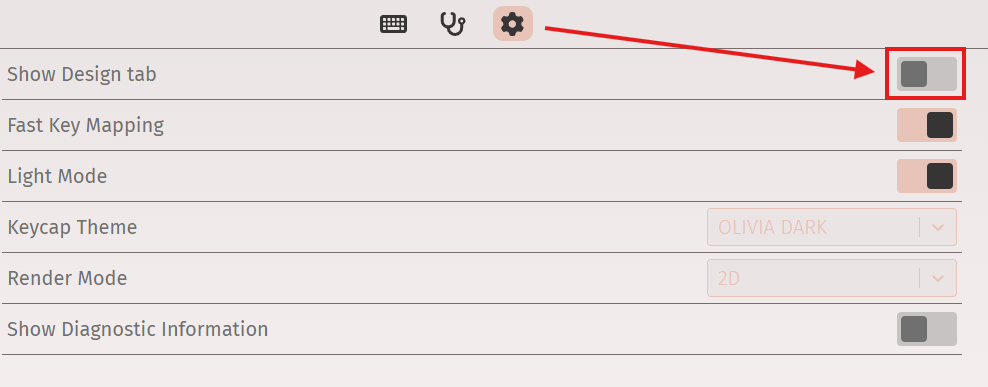
To add the downloaded file, visit https://usevia.app/ and activate the "Show Design tab" option. (Only browsers with the WebHID function activated are currently supported - Google Chrome, Microsoft Edge, Opera v76+).
After this, a brush icon labeled "Design" will appear on the main panel.
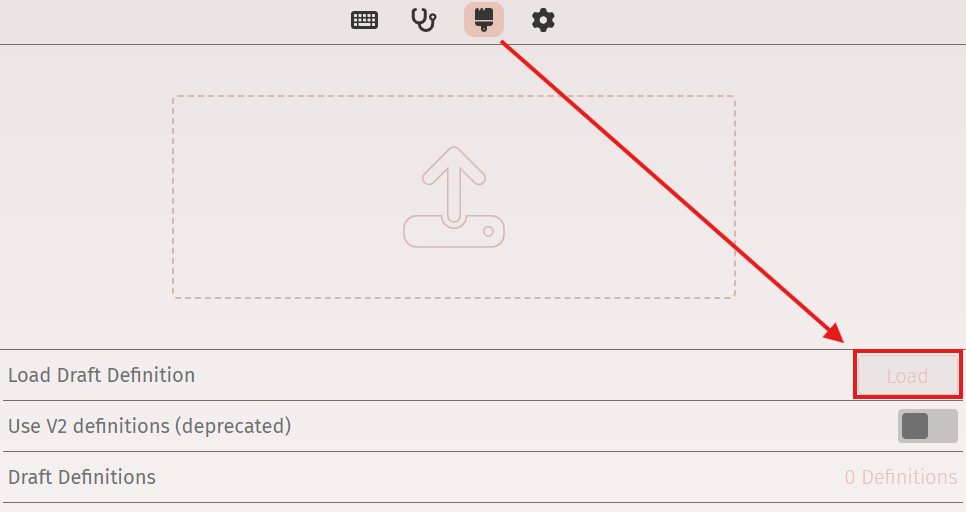
In this section, you need to add the file that you previously downloaded from our website - click "Load".
To start configuring, go to the tab with the corresponding name:
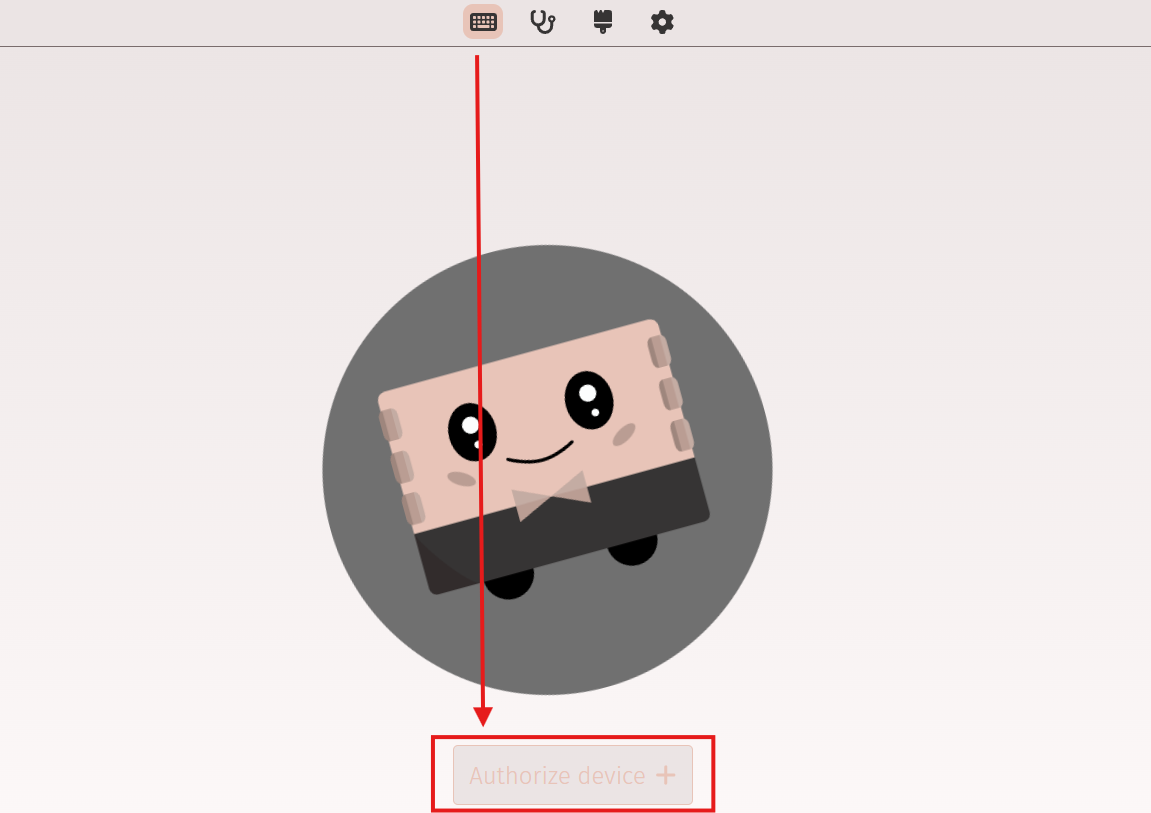
To authorize the keyboard, press the authorization button and select your keyboard.
All available key function settings will be located in the special KEYMAP column:
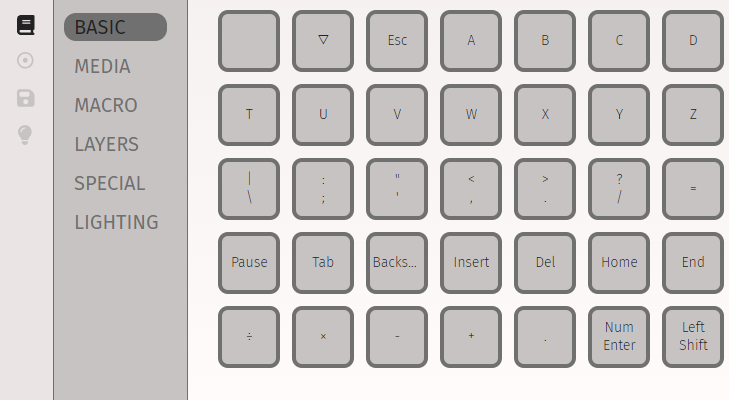
BASIC: configuration of basic key functions
MEDIA: configuration of media key functions
MACRO: assigning keys to activate macros
LAYERS: configuring key layer functions
SPECIAL: additional key functionalities
LIGHTING: assigning keys to control lighting
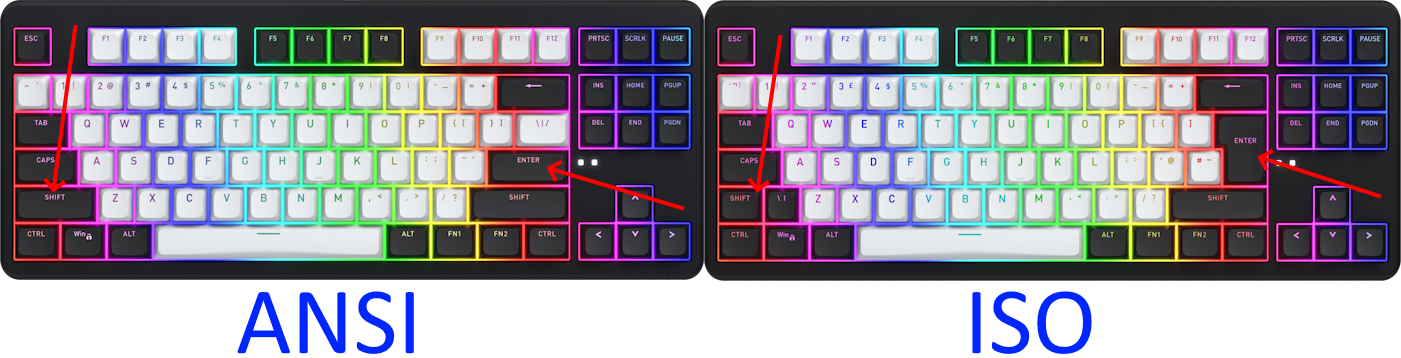
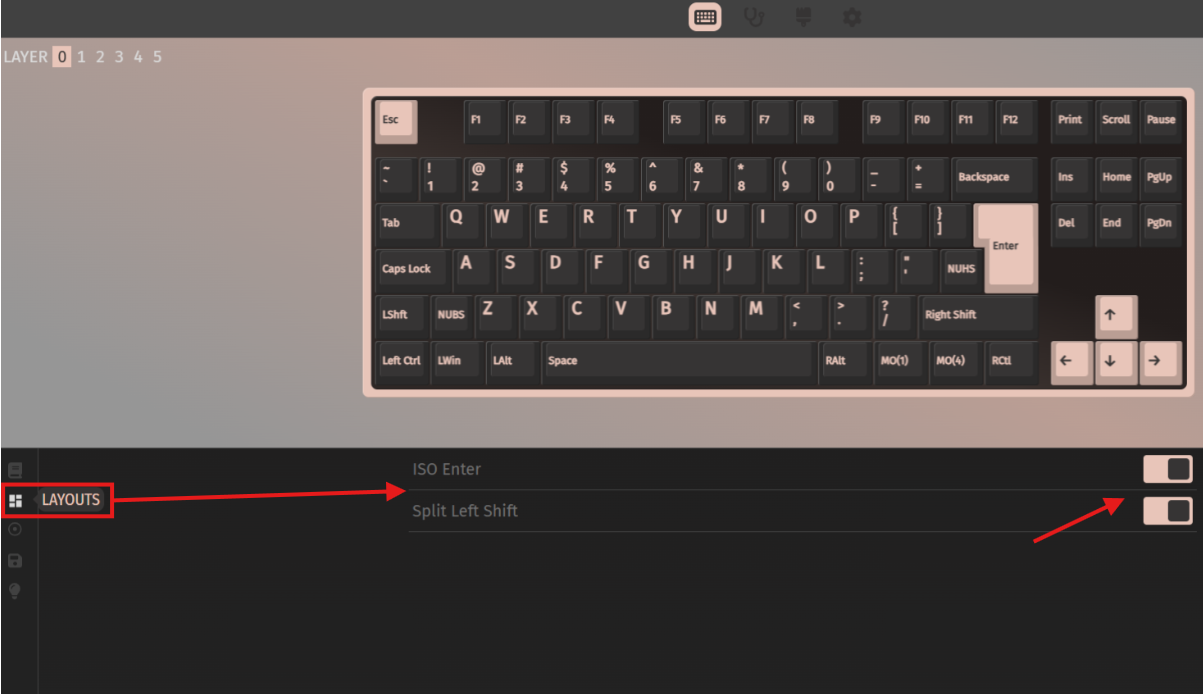
For the ISO layout keyboard, activate these two options - "ISO Enter" and "Split Left Shift"
The next section is macro recording. Here, you will be able to record a macro that you plan to use.
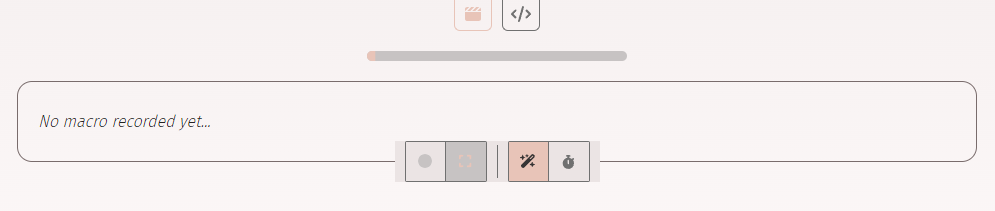
Next, you will find the general configuration section, which allows you to save the configuration or apply a previously saved one.
The final section is lighting control:
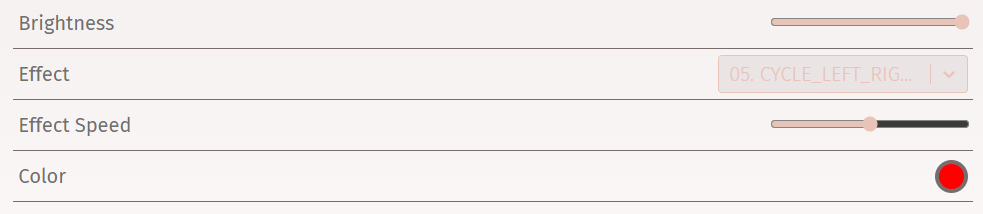
Available settings include color, brightness, lighting effects, and their speed.
Offline configuration mode(no internet access):
To control the keyboard offline, download and install the VIA software (Win/Mac/Linux): Github download
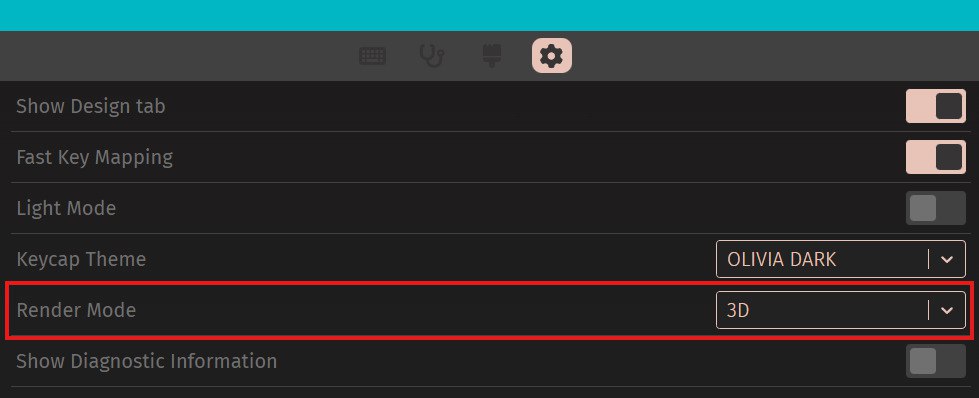
The procedure for preparing is identical - you need to add the keyboard definition file to the program. If the program did not identify the keyboard, try adding the definition file again. Please use the Render Mode 3D.
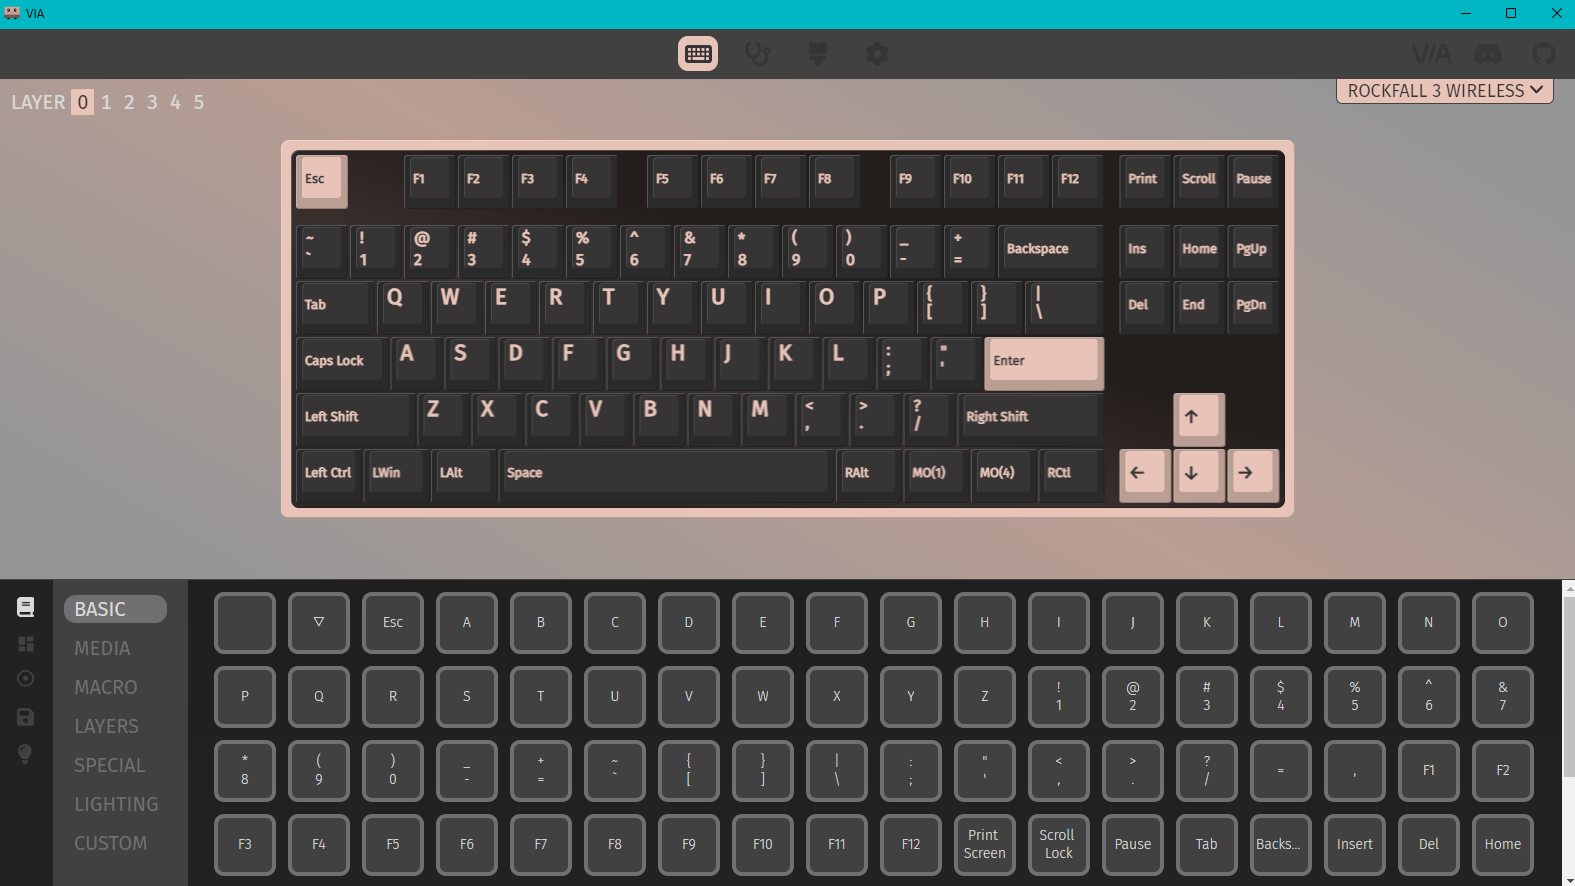
If the error "Command Name: GET_PROTOCOL_VERSION / Error: Receiving incorrect response for command" occurs when connecting the keyboard to the VIA - check if the transmitter(dongle) has been disconnected from the computer. If connected, remove it!
Additional information
How to install SonixQMK firmware on the Gravity series keyboards:
